Orthopaedics & Rehabilitation
Pre-Hospital Musculoskeletal Immobilisation: Splinting, Cervical Collars & Transfer Techniques
25
Jul
Jul
Musculoskeletal trauma from industrial incidents, motor vehicle accidents, and falls requires immediate, structured stabilisation in the pre-hospital environment. Proper immobilisation prevents simple closed fractures from becoming compound wounds, minimises blood loss, and prevents secondary neurological injury.
1. Fundamental Rules of Fracture Immobilisation
- Assess PMS Before and After: Always assess and record Pulse, Motor function, and Sensory response (PMS) distal to the injury before applying any splint, and immediately re-evaluate after splinting is complete.
- The Joint-Above and Joint-Below Rule: An effective splint must immobilise the joint immediately proximal (above) and distal (below) the site of the suspected fracture.
- Immobilise in Position of Deformity: Unless severe neurovascular compromise is present (absence of distal pulse), immobilise the limb as found without forceful traction.
2. Splint Modalities in Emergency Medical Care
| Splint Type | Mechanism | Radiolucent (X-ray Safe) | Best Applications |
|---|---|---|---|
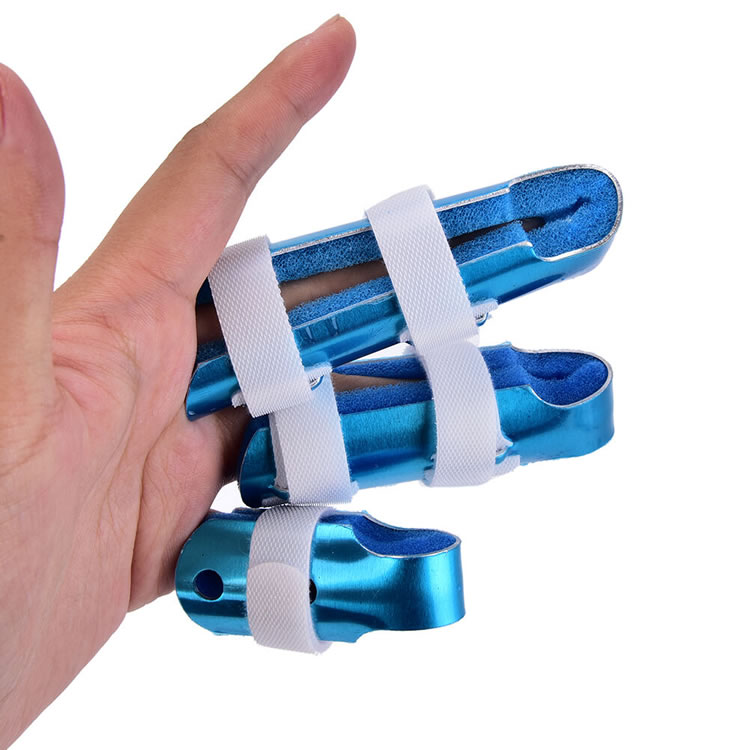
| Malleable Aluminium / SAM Splint | Thin aluminium core sandwiched between closed-cell foam; curves create rigid C/T/I shapes | Yes | Forearm, wrist, ankle, and paediatric limb immobilisation |
| Vacuum Splint Mattress & Limb Splints | Micro-polystyrene beads solidify when air is evacuated via manual vacuum pump | Yes | Severe angulated fractures, joint dislocations, multi-trauma full-body stabilisation |
| Traction Splint (Hare / Sager) | Applies continuous mechanical longitudinal traction against the ischial tuberosity | Variable | Isolated mid-shaft femur fractures (relieves muscle spasm and internal bleeding) |
3. Cervical Collar Sizing and Spinal Precaution Rules
To ensure adequate cervical spine restriction without airway compromise:
- Manual In-Line Stabilisation (MILS): Maintain continuous manual stabilisation of the head and neck in a neutral anatomical position before applying the collar.
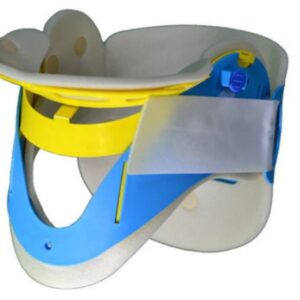
- Finger Measurement Technique: Measure the vertical distance from the top of the patient’s shoulder (trapezius) to the bottom of the chin using your fingers. Select the corresponding collar size notch (No-Neck, Short, Regular, Tall).
- Avoid Over-Tightening: An incorrectly sized or excessively tight collar restricts venous return through the jugular veins, increasing intracranial pressure (ICP).
4. Safe Spinal Board and Scoop Stretcher Transfer
Transferring a suspected spinal trauma patient onto a rigid backboard or scoop stretcher requires a coordinated 4-person log-roll technique commanded exclusively by the team member controlling the cervical spine at the head.